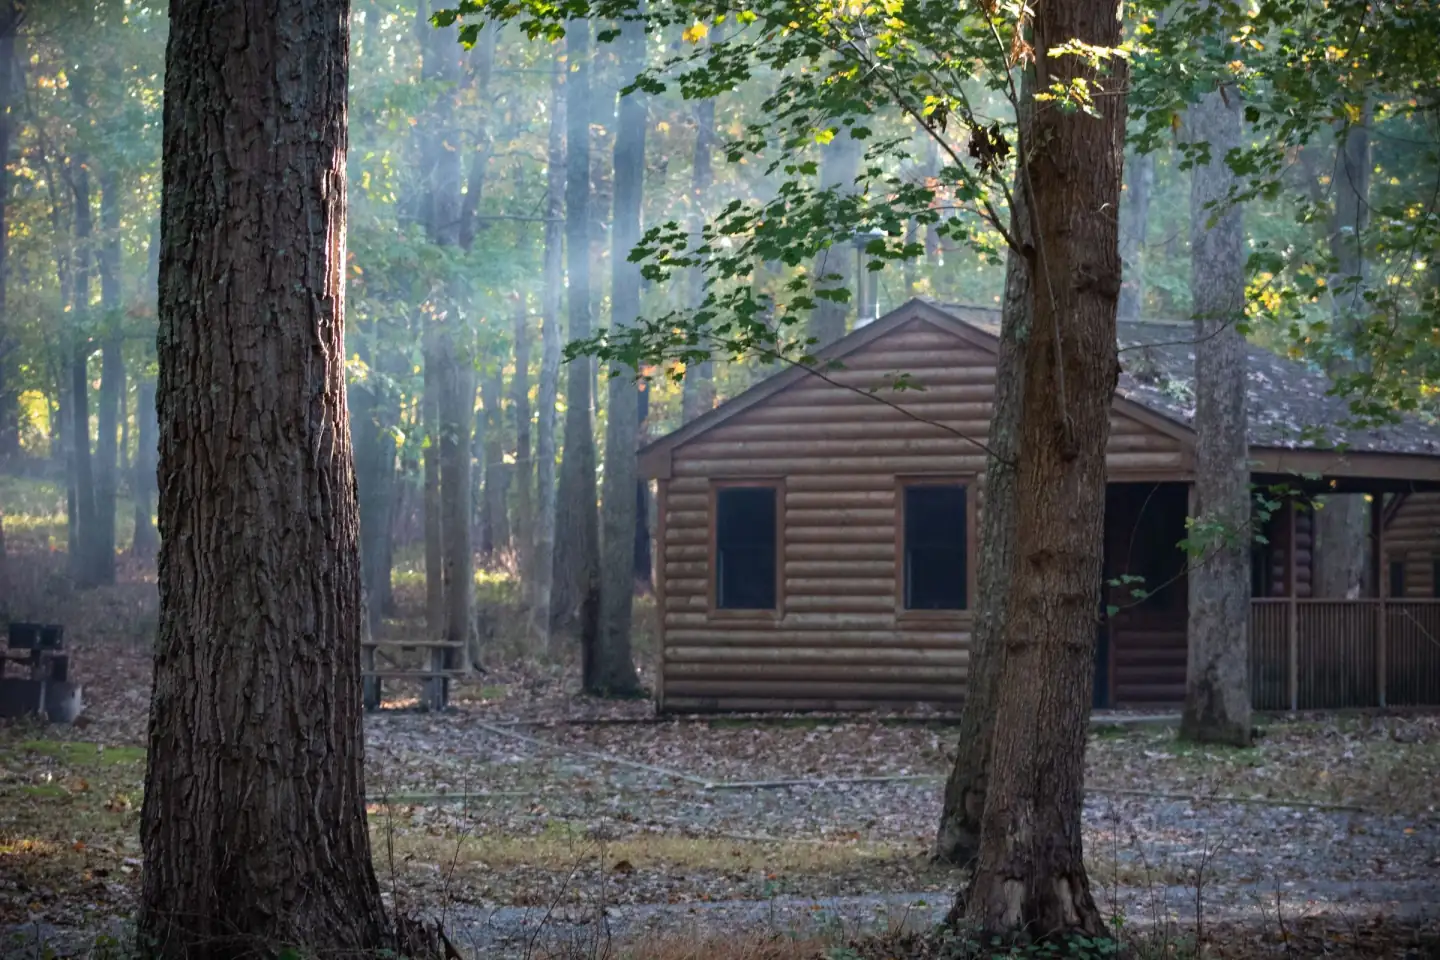
The Haven Guide to Styling and Photographing Your Property

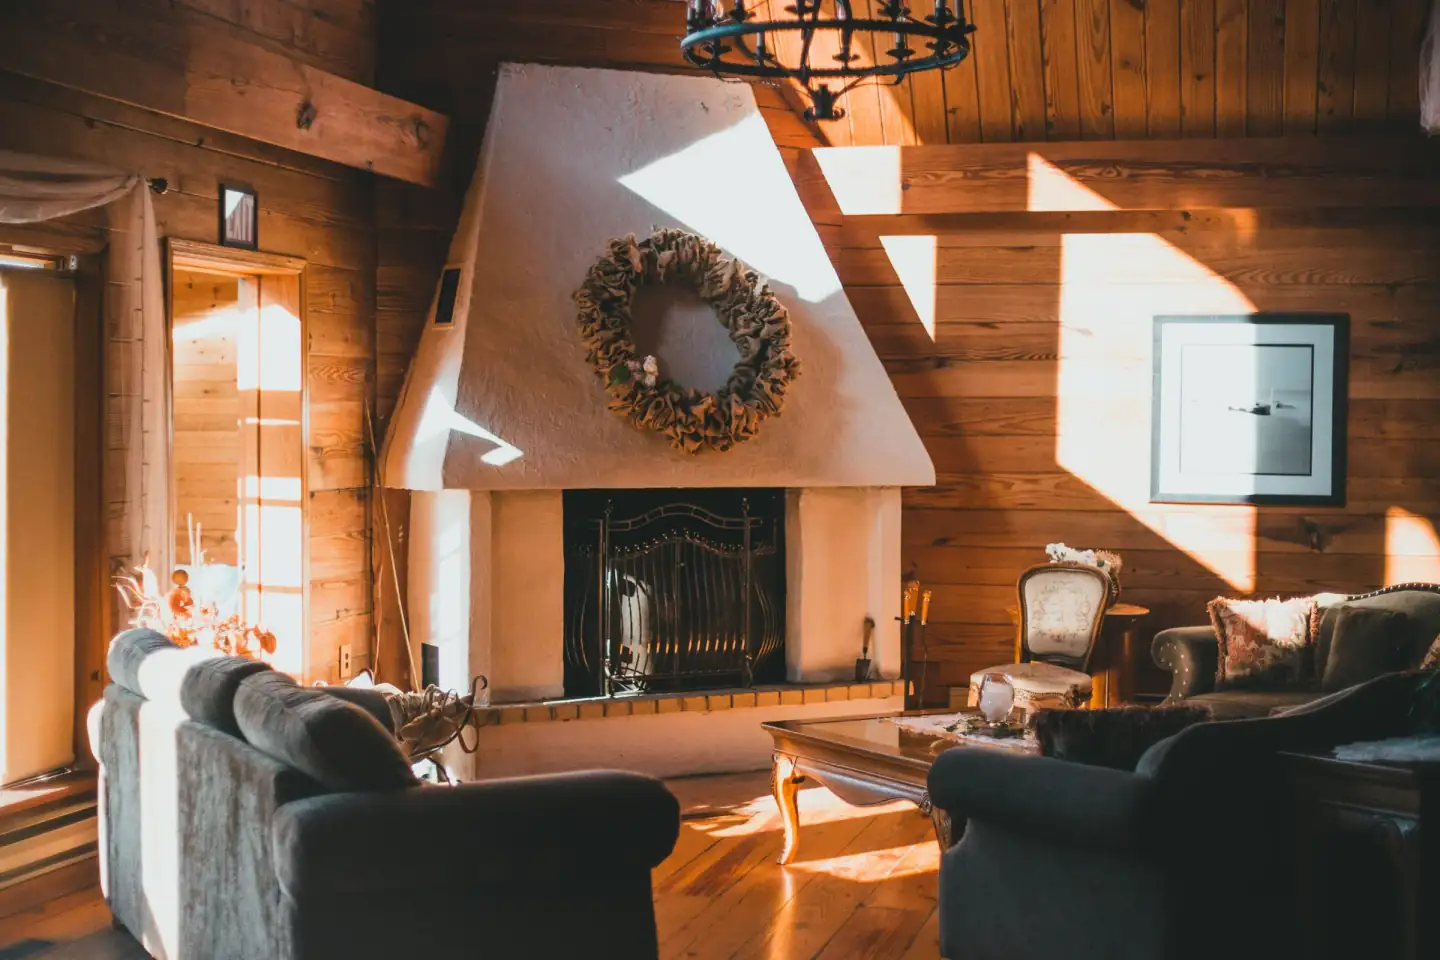
A great property can underperform simply because it is not being presented well.
Guests cannot walk through the front door before they book. They cannot feel the quality of the sheets, see the afternoon light moving across the living room, hear the creek outside, or understand how good it feels to sit by the fire at the end of the day.
Before they experience any of that, they experience your photographs.
That means styling and photography are not finishing touches. They are part of how your property is sold, remembered, and understood.
With Haven, your property has its own website and direct-booking presence, which gives you the opportunity to present it as a hospitality brand rather than simply another short-term rental listing — the shift described in the complete guide to direct bookings for short-term rental hosts. The way you style and photograph the property should support that larger identity.
Start With the Guest You Want to Attract
Before moving furniture or picking up a camera, think about who the property is actually for.
A romantic cabin for two should be photographed differently from a house built around family gatherings. A wellness retreat should feel different from a lively group getaway. A quiet rural property should not be styled to look like a generic luxury condo simply because that happens to be popular on social media.
The strongest imagery begins with a clear sense of the experience you are offering.
Ask yourself what you want a guest to feel when they first see the property. Rested? Excited? Curious? Cozy? Inspired? Connected to nature?
Those words should guide both the styling and the photography.
Style for the Experience, Not the Photograph
Good styling should make the property feel more like itself.
It does not mean filling every surface with decorative objects or creating scenes that no guest would actually encounter. In fact, over-styling can make a property feel less authentic.
Start by removing visual clutter. Clear cords, excess appliances, cleaning supplies, remote controls, packaging, personal items, trash cans, and anything that unnecessarily distracts from the architecture or experience.
Then look at what is missing.
A dining table may need a simple centerpiece. A reading chair may need a lamp and a throw. An outdoor seating area may need cushions and a small table to help someone imagine actually spending time there.
The goal is not to decorate for the camera. The goal is to make the space feel intentional.
Let the Property Have a Point of View
Generic spaces are difficult to remember, which is why guests remember Airbnb and not the rental.
You do not need to redesign the entire property, but there should be some visual continuity between rooms. Materials, colors, art, textiles, lighting, and furniture should feel like they belong to the same place.
That does not mean everything has to match. It means the property should feel coherent.
Whenever possible, let the landscape and location influence the design. A house in the desert should not feel exactly like a cabin in the forest or a cottage on the coast. Local materials, vintage pieces, regional art, plants, books, and objects with a story can give the property an identity of its own.
Pay Attention to Lighting
Lighting can completely change how a property photographs.
Whenever possible, photograph during daylight and pay attention to how natural light moves through the property at different times of day. A room that looks flat at noon may be beautiful at nine in the morning or late in the afternoon.
Avoid relying on harsh overhead lights. Lamps can create warmth and atmosphere, but watch for dramatically different light temperatures in the same room. Daylight, cool LED bulbs, and very warm lamps can create a confusing mix of colors in a photograph.
You are looking for light that feels natural, dimensional, and inviting.
How to Take Better Property Photos
You do not need an expensive camera to dramatically improve your property photography. A current smartphone is capable of producing excellent images when it is used carefully.
The biggest mistake I see has nothing to do with the quality of the camera.
People tilt it.
When photographing an interior, keep your phone or camera as perpendicular to the ground as possible. In other words, do not point the camera dramatically up toward the ceiling or down toward the floor.
When the camera is tilted, vertical walls begin leaning inward or outward. Door frames become crooked, cabinets appear distorted, and the entire room can feel strangely off even when the person looking at the photograph cannot identify why.
Look at the vertical lines in the room: door jambs, windows, wall corners, cabinetry. They should appear straight up and down.
This one adjustment can make amateur property photography look significantly more professional.
Find the Right Camera Height
Higher is not always better.
For most interiors, holding the camera somewhere around chest height is a good starting point. You want enough height to understand the room without photographing enormous amounts of ceiling or making the furniture look unusually small.
Experiment with moving the camera slightly higher or lower while keeping it level.
Bathrooms and kitchens sometimes benefit from a slightly higher viewpoint because counters are important. Bedrooms often look better a little lower because the bed is the visual focus.
The important thing is to deliberately choose the height rather than simply holding the phone at eye level.
Back Up Before Using a Super-Wide Lens
Wide-angle lenses are useful in small spaces, but they are also easy to overuse.
The ultra-wide setting on a phone can dramatically stretch furniture, make rooms appear much larger than they actually are, and distort objects near the edges of the photograph.
Before switching to the widest lens, see whether you can simply step farther back.
Use a wide angle when you genuinely need it to communicate the room, but avoid trying to make a small room look enormous. A guest should recognize the property when they arrive.
Keep the Edges Clean
Before taking the photograph, look at all four edges of the frame.
Is half a chair creeping into the image? Is there a lampshade cut awkwardly in half? Is a door frame creating a strange line on one side?
Small adjustments in where you stand can dramatically improve a composition.
Take an extra moment to move left, right, forward, or backward until the photograph feels balanced.
Photograph Straight Into Some Rooms
Not every image has to be taken diagonally from a corner.
Straight-on compositions can be beautiful, particularly when a room has symmetry, an architectural feature, a fireplace, a bed, an interesting doorway, or a view.
Mix wider room photographs with more composed images. Your finished gallery will feel much more editorial and much less like a real estate inspection.
Clean the Camera Lens
It sounds ridiculously simple, but smartphone lenses are constantly covered in fingerprints.
Wipe the lens before you begin photographing.
A dirty lens creates haze and reduces contrast, particularly when photographing toward windows or lights. Thirty seconds with a clean cloth can make a surprising difference.
Take More Than One Photograph
Digital photographs cost nothing.
Take several versions of important shots. Move slightly. Adjust the height. Try a horizontal composition and a vertical one. Photograph the space at two different times of day if the light changes significantly.
It is much easier to choose among five good photographs later than discover that the only image you took was crooked.
Photograph the Feeling, Not Just the Floor Plan
Guests need to understand the layout, but a complete set of photographs should do more than document rooms.
Wide shots are important because they show scale and orientation. But if every photograph is a wide shot from the corner of a room, the property begins to feel flat.
Include medium and detail images as well.
Photograph the texture of the bedding. The coffee setup. The view through an open door. A chair beside the fireplace. The outdoor shower. The books on the nightstand. The trail beginning behind the cabin.
Those images help tell the story of what staying there actually feels like.
Photograph the Property as a Guest Experiences It
Think about the rhythm of a stay.
What does someone see when they arrive? Where do they drink coffee in the morning? Where do people gather for dinner? What does the bedroom feel like at night? Where do guests spend time outside?
A good property gallery should gradually answer those questions.
You are not simply photographing real estate. You are photographing a stay.
Show the Setting
The property does not exist in isolation.
If the landscape is part of the reason someone would come, photograph it.
Show the trail, lake, garden, mountains, woods, neighborhood, or view from the porch. If there are meaningful local experiences nearby, those can become part of the larger visual story as well.
Guests are often booking the location and the property together.
People Create Scale and Emotion
Not every property needs lifestyle photography, but a few thoughtfully composed images with people can help guests understand how a space is used.
Someone sitting beside the fire, preparing breakfast, reading on the porch, walking down the path, or sharing dinner can immediately create a sense of scale and possibility.
These images should feel natural rather than staged. You do not necessarily even need to show a person's face.
The goal is to help someone imagine themselves there.
Photograph the Details That Justify the Rate
If you have invested in something special, show it.
A handmade dining table, beautiful linens, locally made ceramics, a soaking tub, custom cabinetry, a record collection, high-quality coffee equipment, an outdoor sauna, or a thoughtfully stocked kitchen may all contribute to the value of the stay.
Do not assume guests will notice these things from one wide photograph.
Details communicate quality.
Editing Your Photos
Editing is part of digital photography. It does not mean making the property look like something it is not.
Simple adjustments to exposure, shadows, highlights, white balance, contrast, cropping, and perspective can make an enormous difference.
Apps such as Snapseed make these adjustments relatively easy, even if you have never edited photographs before. Most phones also have surprisingly capable editing tools built directly into the photo app.
And now AI tools can make the process even easier.
You can upload a photograph to an AI image tool and ask it to make the same kinds of adjustments you would normally make in a photo editor. The important thing is to clearly instruct the AI that you are editing a real property photograph and do not want it inventing, replacing, or redesigning anything.
The goal is enhancement, not generation.
An AI Prompt You Can Use
Copy and paste this prompt along with your property photograph:
Edit this as a professional hospitality/editorial property photograph. Correct exposure, white balance, highlights, shadows, contrast and perspective. Straighten vertical architectural lines so walls, windows and door frames appear natural. Improve clarity and overall lighting while keeping the image realistic and true to the actual property. Preserve all existing furniture, architecture, finishes, landscaping, views and objects exactly as they are. Do not add, remove, replace, redesign or invent anything. Do not create artificial textures, objects, scenery, reflections, windows, furniture or architectural details. Do not produce AI artifacts. Maintain realistic materials, natural proportions and believable light. The finished image should look like a professionally edited photograph of the original scene, not an AI-generated image.
If you want an editorial rather than traditional real-estate look, you can add:
Keep the edit natural, warm and sophisticated with an editorial hospitality feel rather than an over-bright HDR real-estate aesthetic.
After any AI edit, zoom in and inspect the image carefully before publishing it. Pay particular attention to text, artwork, window frames, furniture legs, railings, trees, hands or people, reflections, and repeating patterns. These are areas where generative editing can occasionally introduce visual errors.
If something has been changed rather than simply enhanced, go back to the original.
Make Sure the Photographs Match Reality
Photography should make a property look its best, but it should still be truthful.
Avoid extreme wide-angle lenses that distort rooms or editing that dramatically changes colors, views, dimensions, or scale. Do not use AI to manufacture a sunset, add landscaping that does not exist, replace an undesirable view, furnish an empty patio, or otherwise promise something the guest will not actually encounter.
A guest should arrive and feel that the property is even better than expected, not discover that the photographs created an experience that does not exist.
Trust is part of hospitality, and photographs are part of what builds trust on a new direct booking website.
Build a Complete Image Library
Your website should have enough imagery to tell the whole story of the property.
At minimum, photograph the exterior and arrival experience, every bedroom and bathroom, kitchen and dining areas, main living spaces, outdoor areas, views and landscape, special amenities, architectural and design details, and the surrounding destination.
Add lifestyle moments and seasonal images where they make sense.
Do not think only about what you need for the website today. Build an image library that can also support social media, press, newsletters, partnerships, and future marketing.
Choose the First Images Carefully
The first few images carry enormous weight.
They should immediately communicate the strongest reasons to stay at the property.
Your lead photograph does not always need to be an exterior shot. It should be the image that best captures the experience.
If the extraordinary feature is the view from the deck, lead with the view. If the cabin itself is visually iconic, lead with the architecture. If the interior is the strongest part of the experience, let that image introduce the property.
The first photograph should make someone want to know more.
Review Your Website as a Guest
Once the photographs are uploaded, look at the entire website with fresh eyes.
Without reading the copy, what do the images tell you? Can you understand the experience? Does the property feel distinct? Can you imagine yourself staying there? Does it feel worth the nightly rate?
And perhaps most importantly: would you remember it?
Great photography does not simply show guests where they will sleep.
It gives them a reason to care about the place before they ever arrive.
If you want help applying this to your own property, book a Sanctuary Found consultation.